Booth Signs & Displays for Artists
Create a booth that stands out at conventions, art shows, and artist alley events. The right signage and display prints don’t just look good—they help draw people in.
Build a Professional Booth Setup
Start with the core display products that help define your booth. From rigid signs and backdrops to banners and table covers, these essentials create a clean, eye-catching setup that attracts attention and increases sales.
-
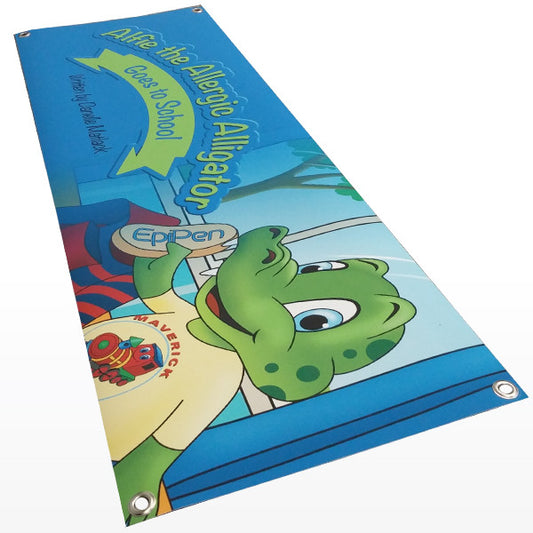
Durable polypropylene banners designed for clean, professional indoor displays.
Indoor Banners (Polypropylene)
Regular price From $ 19.99Regular priceUnit price per -
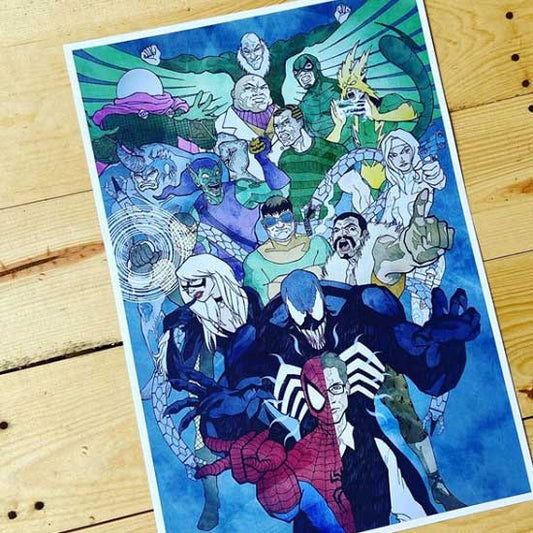
Bold 13×19 custom posters. Explore a variety of quantities and paper options.
13x19 Small Posters
Regular price From $ 24.99Regular priceUnit price per -
Set up in seconds—just unroll the banner and start attracting customers
Retractable Banners
Regular price From $ 149.99Regular priceUnit price per -
18″ × 24″ posters grab attention without overwhelming your space.
18×24 Poster Print
Regular price From $ 20.00Regular priceUnit price per -
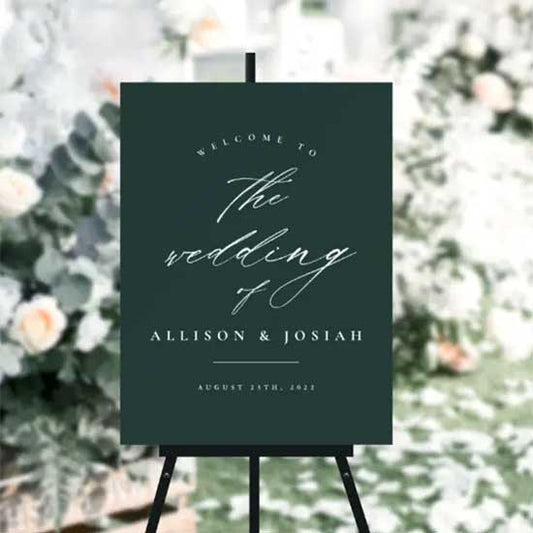
Vinyl backdrops provide a bold background for booths, events, and photo setups.
Vinyl Backdrops
Regular price From $ 99.99Regular priceUnit price per -
An affordable banner stand built for artists and vendor booths.
X-Style Banners
Regular price $ 69.99Regular priceUnit price per -
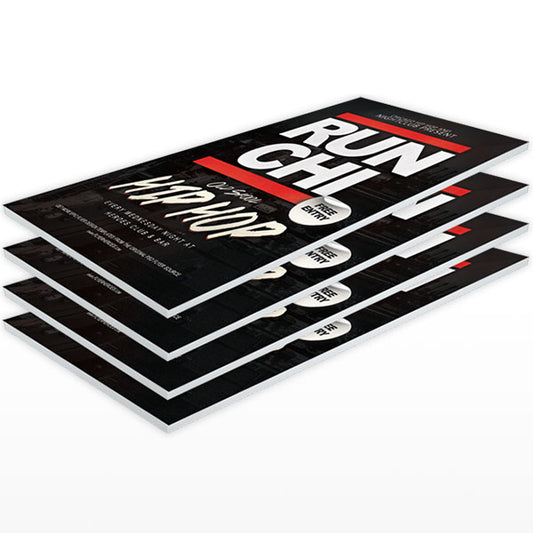
Perfect for exhibits, presentations, and event signage that needs to look sharp.
Signs on Foam or Gator Board
Regular price From $ 19.99Regular priceUnit price per -
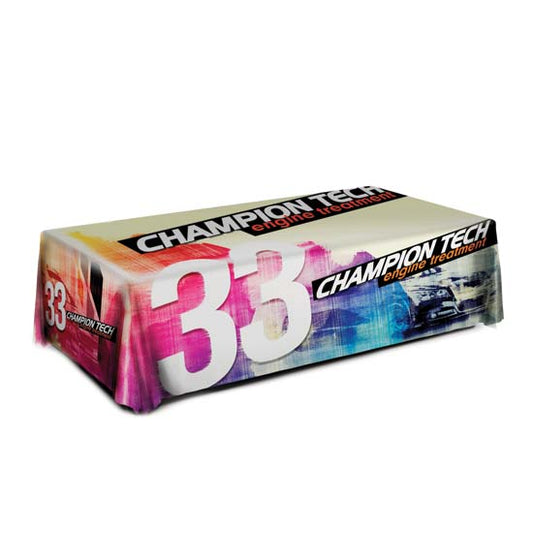
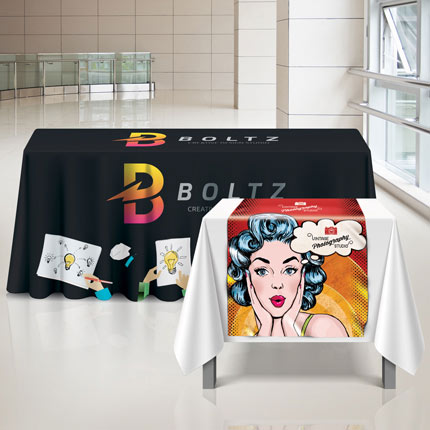
Upgrade your booth setup with custom table covers designed for events and displays.
Table Covers
Regular price From $ 89.99Regular priceUnit price per -
24" x 36" posters are a popular large size for artwork, photography, and display posters.
24x36 Poster Print
Regular price $ 20.00Regular priceUnit price per


Artist Alley Starter Kit
A convention-ready print bundle for artists who want a clean, confident booth setup at Comic Cons, Artist Alley events, and creator markets. Pick a print starter kit for maximum value. Each tier is built around what successful booths actually stock. All printing is on our luxury matte cardstock.