We Want Your Custom Stickers to Look Amazing!
Preparing your artwork correctly ensures your custom stickers and decals print cleanly, cut accurately, and look professional. This guide covers file requirements, bleed setup, resolution, cut lines, and color settings for all of our sticker products.
Whether you're ordering die-cut stickers, sticker sheets, label rolls, bumper stickers, metallic stickers, or wall decals, these guidelines will help ensure smooth production and high-quality results.

Resolution Requirements
All raster artwork should be at least 300 DPI at final print size. For larger items like wall decals, the resolution should remain high at the final scaled size.
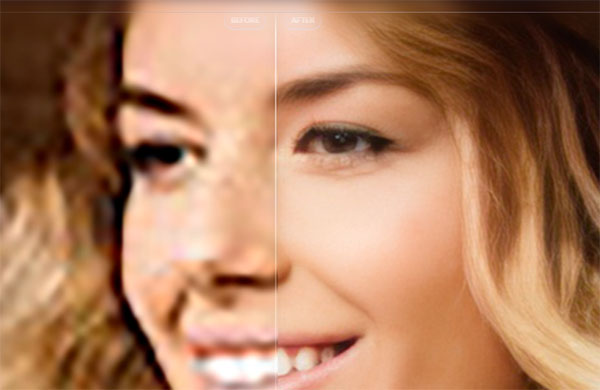
Low-resolution files may print blurry or pixelated. We will notify you if file quality needs adjustment before printing.
We can restore resolution using an AI Program. We ask for permission first.
File Setup by Sticker Type
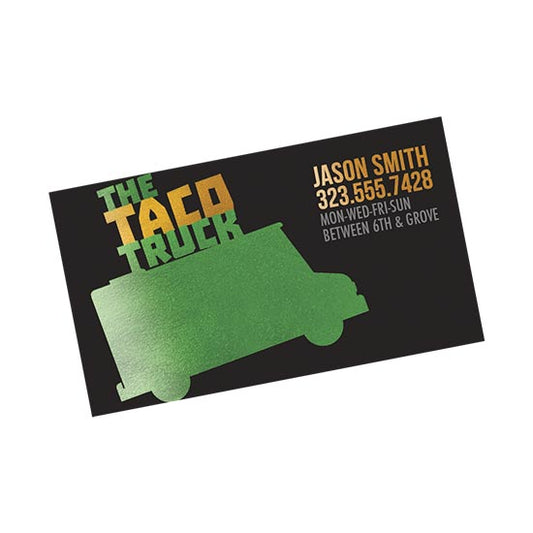
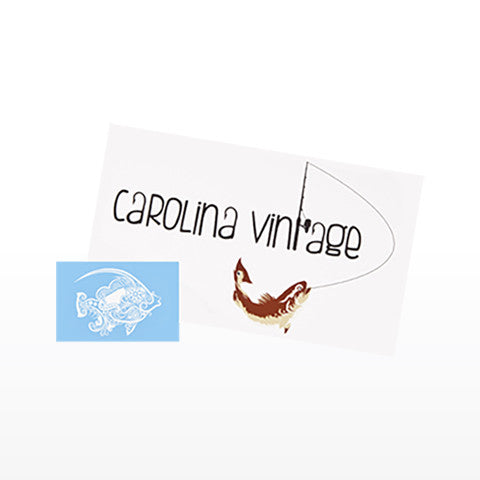
Custom-shaped stickers cut to the exact contour of your design. You do not need to create a cut line — simply provide your artwork, and our team will prepare the contour path for production.
Multiple designs arranged on a single sheet. Leave adequate spacing between designs, and feel free to use the surrounding sheet area creatively for branding or additional artwork. We handle the final cut setup.
Circle, Square, and Rectangle Stickers
Standard shape stickers do not require custom cut paths. Ensure your artwork is centered properly and includes bleed for clean trimming.
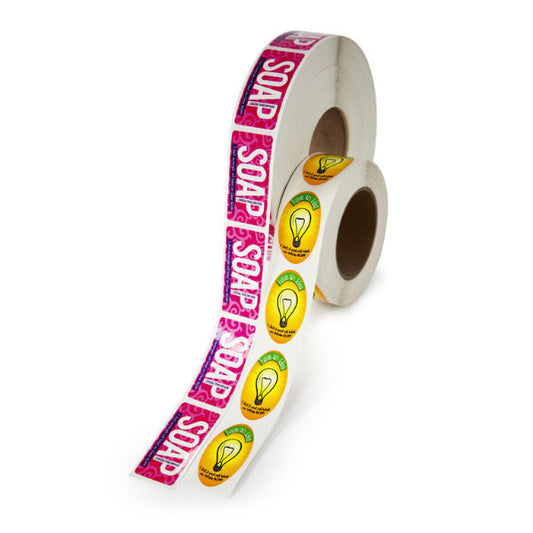
Sticker Label Rolls
Typically produced in consistent shapes and repeated layouts. Maintain even margins and spacing if submitting multiple labels in one file.
Bumper Stickers
Designed for visibility and outdoor durability. Use bold typography, strong contrast, and large elements so the design remains readable from a distance.
Metallic Stickers
Metallic material can influence how colors appear. Avoid extremely small details and understand that lighter or transparent areas may interact with the metallic finish.
Removable Wall Decals
Often printed at larger sizes. Maintain high resolution at full scale and avoid very thin borders near edges to ensure clean cutting and professional results.
Ready to Upload Your Sticker Artwork?
Once your file is set up, simply upload your artwork when placing your order. Every file is reviewed by our team to ensure proper sizing, resolution, and cut alignment before printing begins.
If anything needs adjustment, we’ll reach out before production. Our goal is to make the process smooth and stress-free so your stickers print exactly as expected.